 2M+ orders fulfilled
 10 Tips for Product Photography on a Budget
When you're starting an online store, the quality of your product photography is incredibly important. It's the first impression that potential customers will have of your products, and with a little creativity and planning, you can take amazing product photos without spending a lot of money.
Here are our 10 top tips to get you started with product photography on a budget.
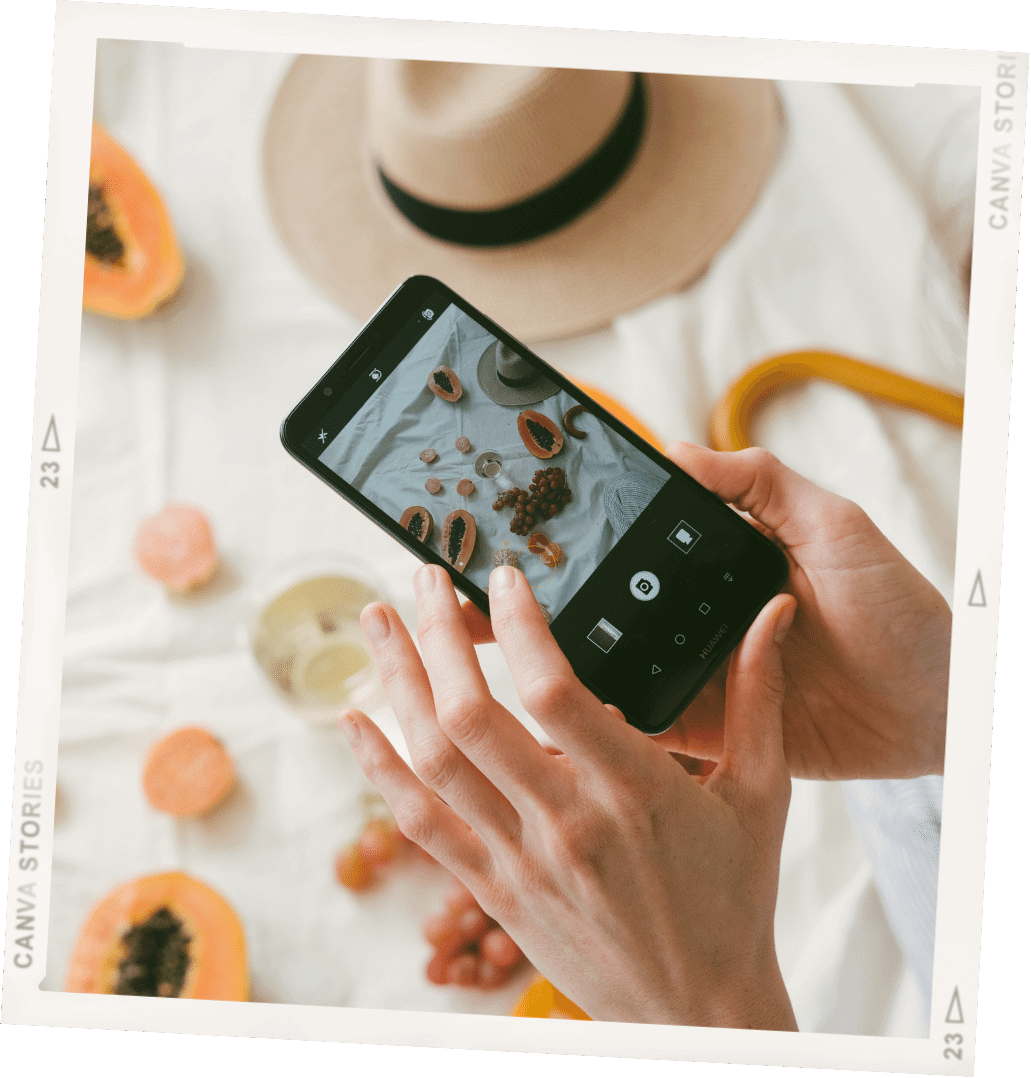
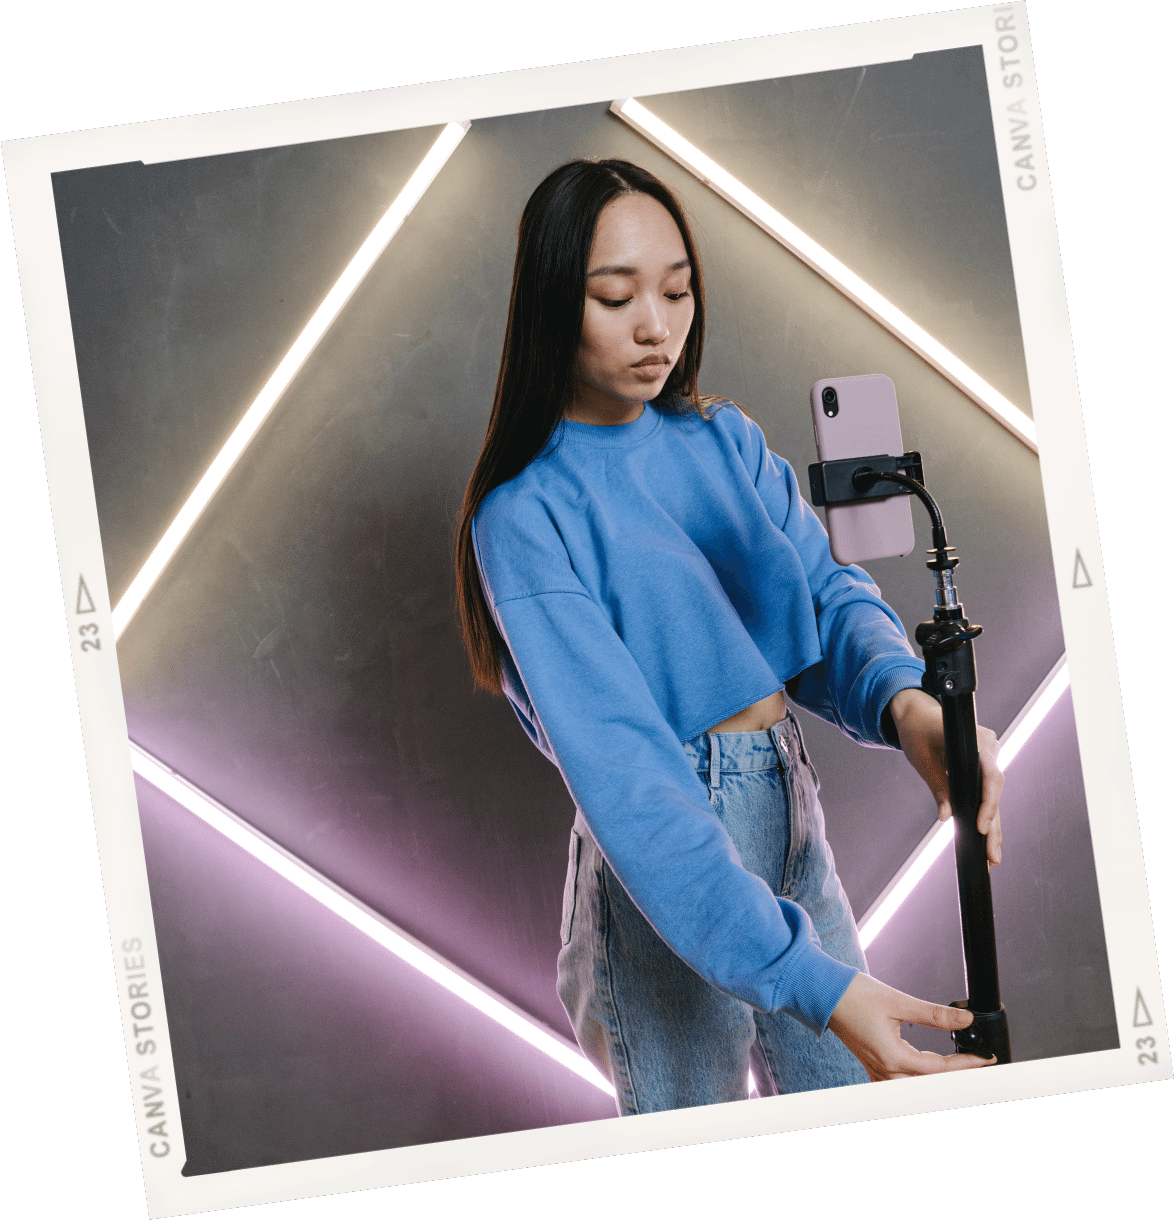
Use your phone!
Most mobile phone cameras are perfectly suitable for product photography, and what better way to save money than by avoiding purchasing an expensive DSLR camera!
Pro tip: Invest in a phone tripod to keep your shots steady.
Of course, you can get outstanding results if you have a DSLR and know how to use it, but having high-end equipment isn't necessary. There are numerous other things that can assist you in taking better photographs, even if you don't have fancy gear.
Use natural light whenever possible.
Natural light is always the best option for taking photos, so try to shoot around noon 12-3 PM when the sun is at its brightest. If you don't have access to a lot of natural light, you can also try setting up a reflector (a white piece of poster board will do the trick) to bounce some light back onto your product.
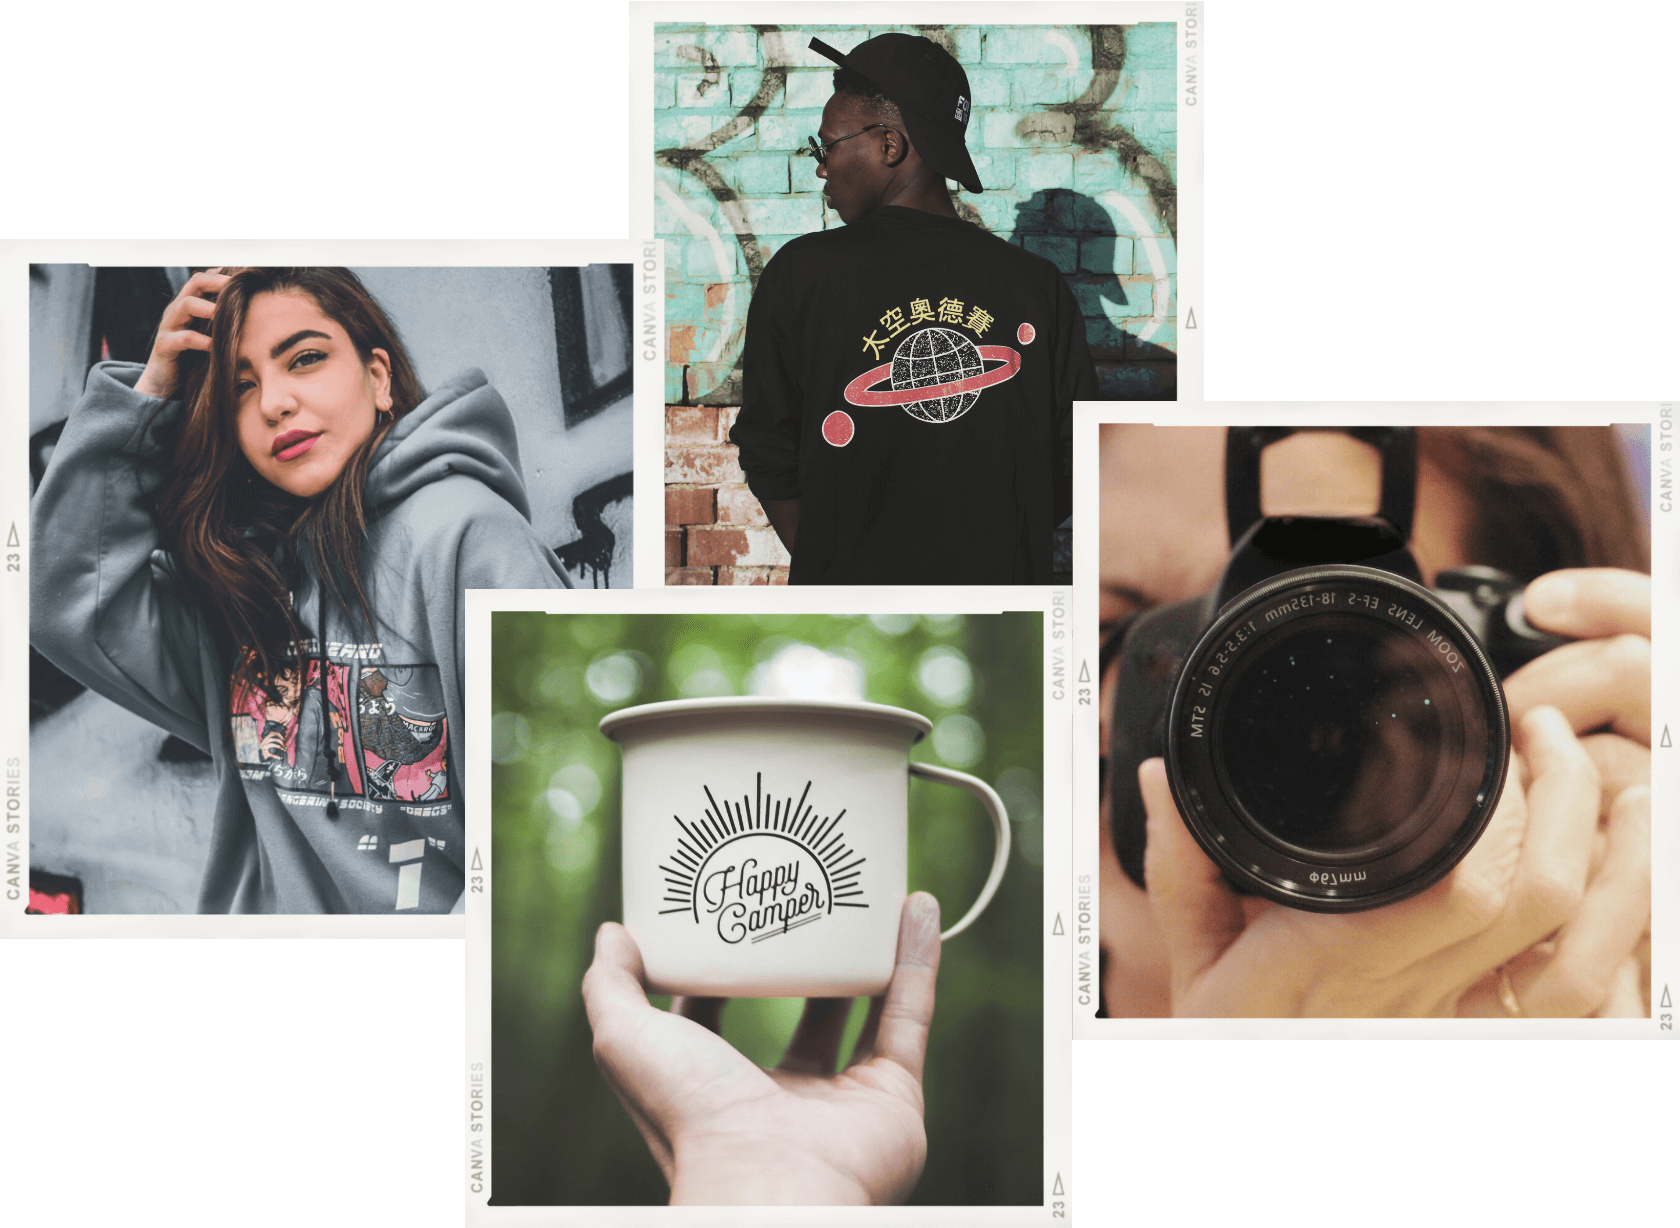
Use relatable props.
You don't need to go overboard, but a couple of well-chosen props can really make your product photos pop. Try incorporating some greenery or flowers for a natural look, or get creative with other household items that complement your product.
A few well-placed props can really make your product photos stand out! Like in this TikTok.
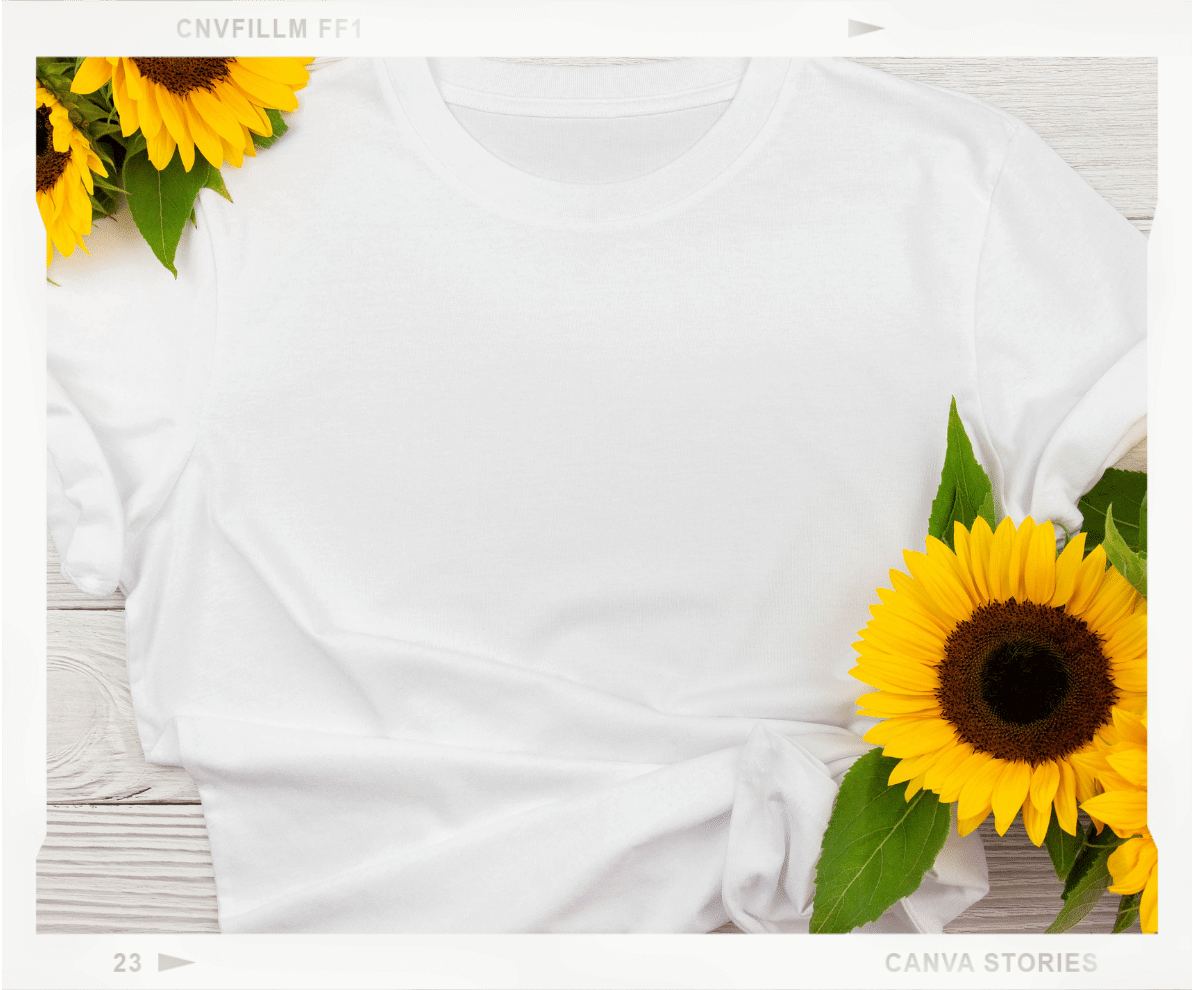
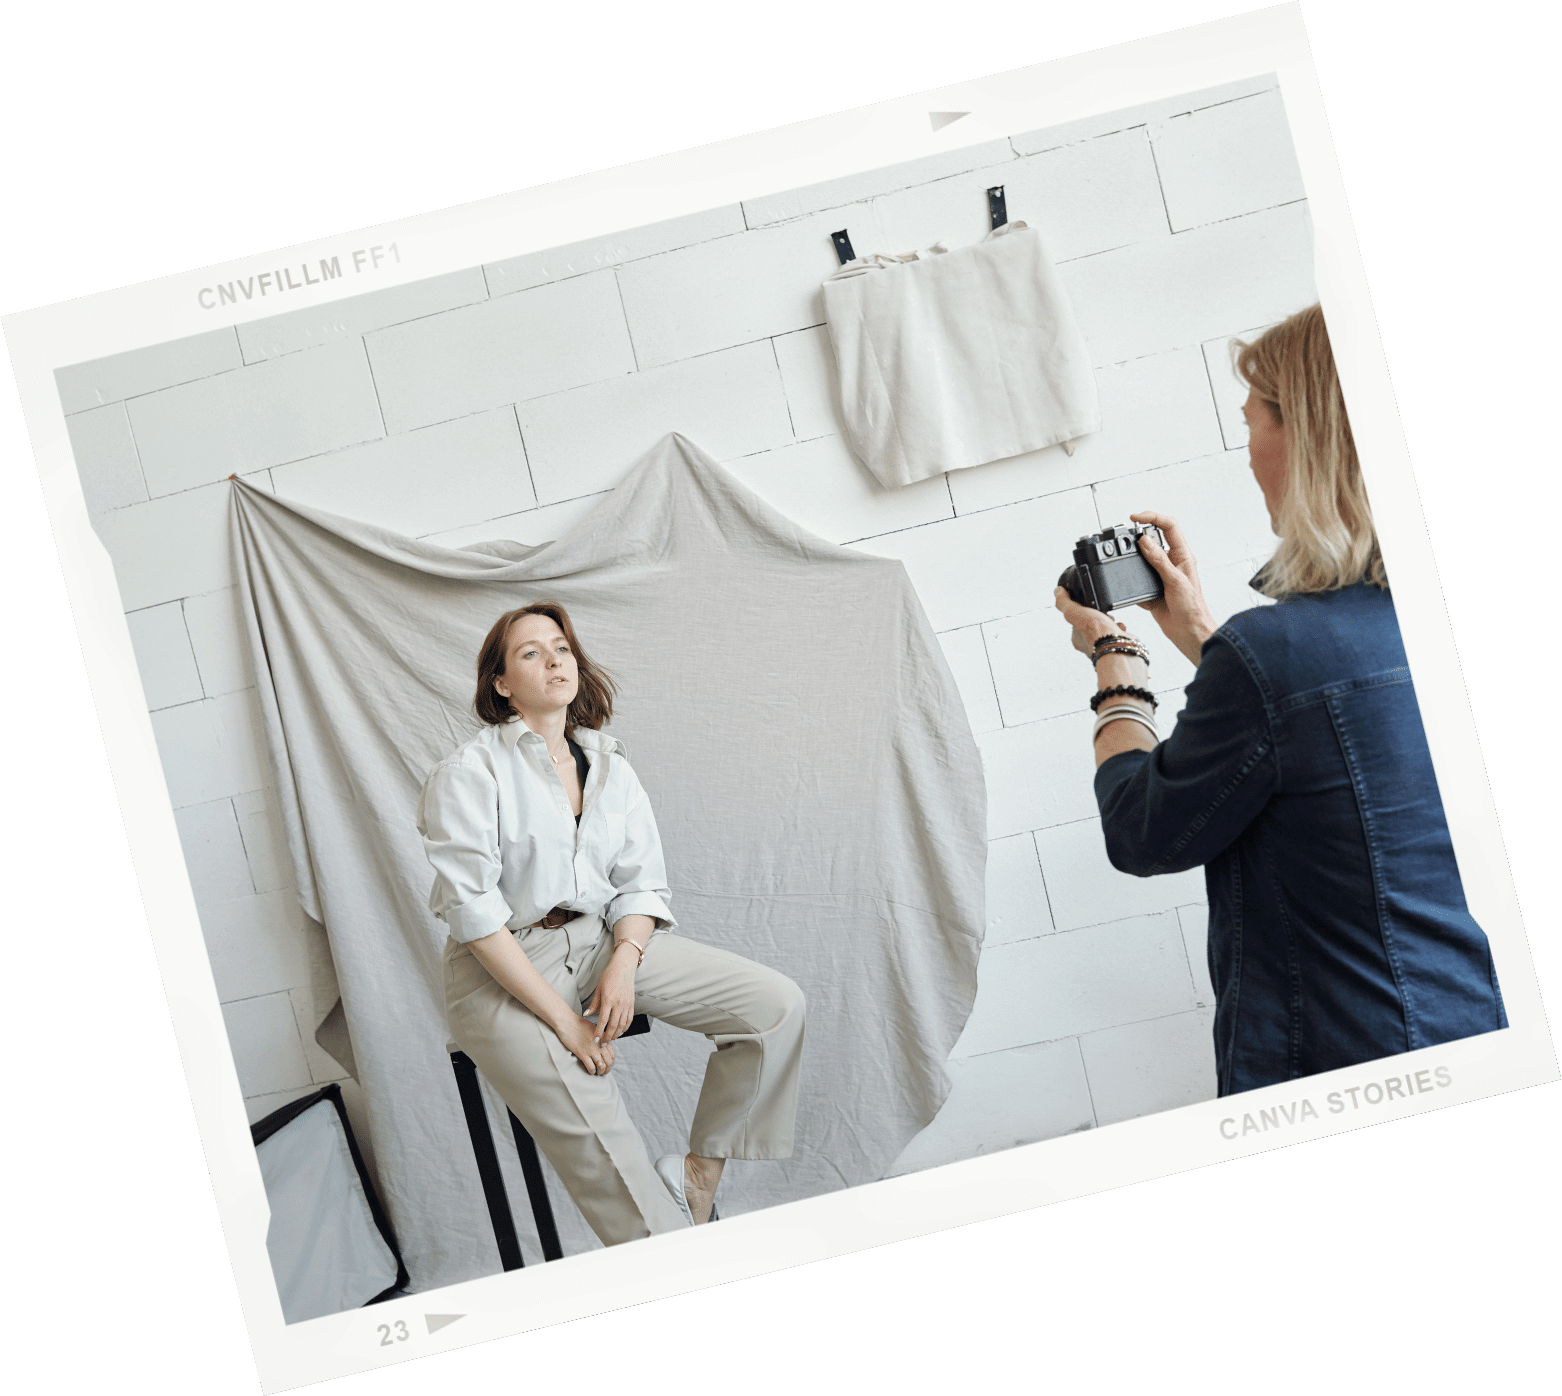
Find a clean, simple background.
A cluttered or busy background can be distracting and take away from your product. A plain white wall or sheet is always a good option, but you can get creative with other backgrounds as well. Just make sure it's something that won't take away from your product.
If you want something a little more interesting than a blank wall, try using a piece of fabric or wrapping paper as your background. This can add some texture and depth to your photos.
If you want to get really creative, you can even use items from your pantry as backgrounds! Tin foil makes for a very shiny studio effect when used for shooting smaller products like mugs and art prints, like this photo we made for a blog post last year:

Get creative with your angles.
Try shooting your product or subject from different angles to add interest and dimension to your photos. Get close up, shoot from above, or play around with different perspectives to see what looks best.
The more angles you have, the more likely you are to get really good shots.
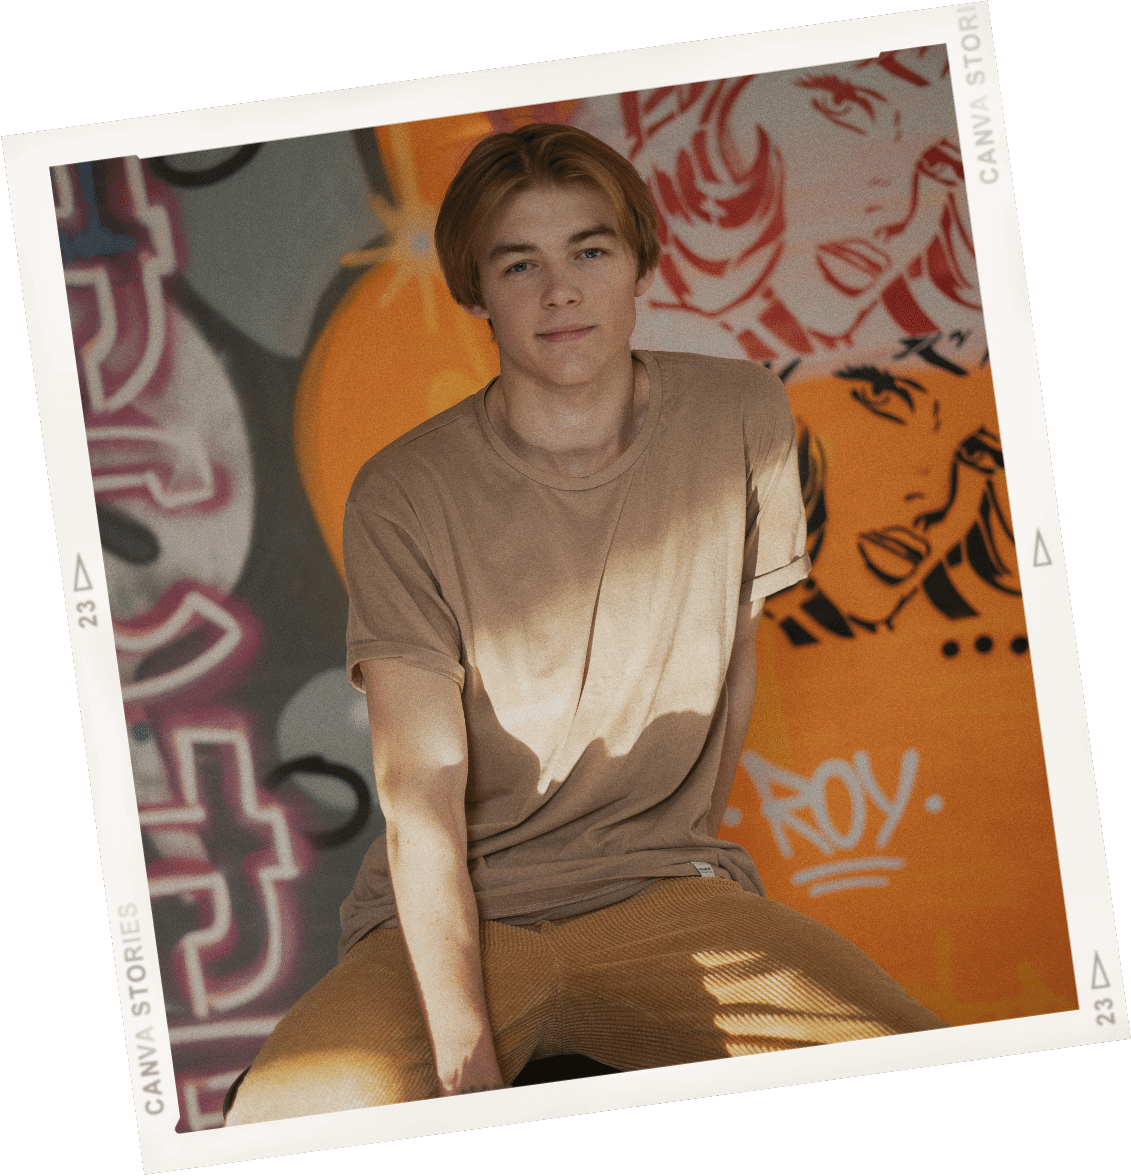
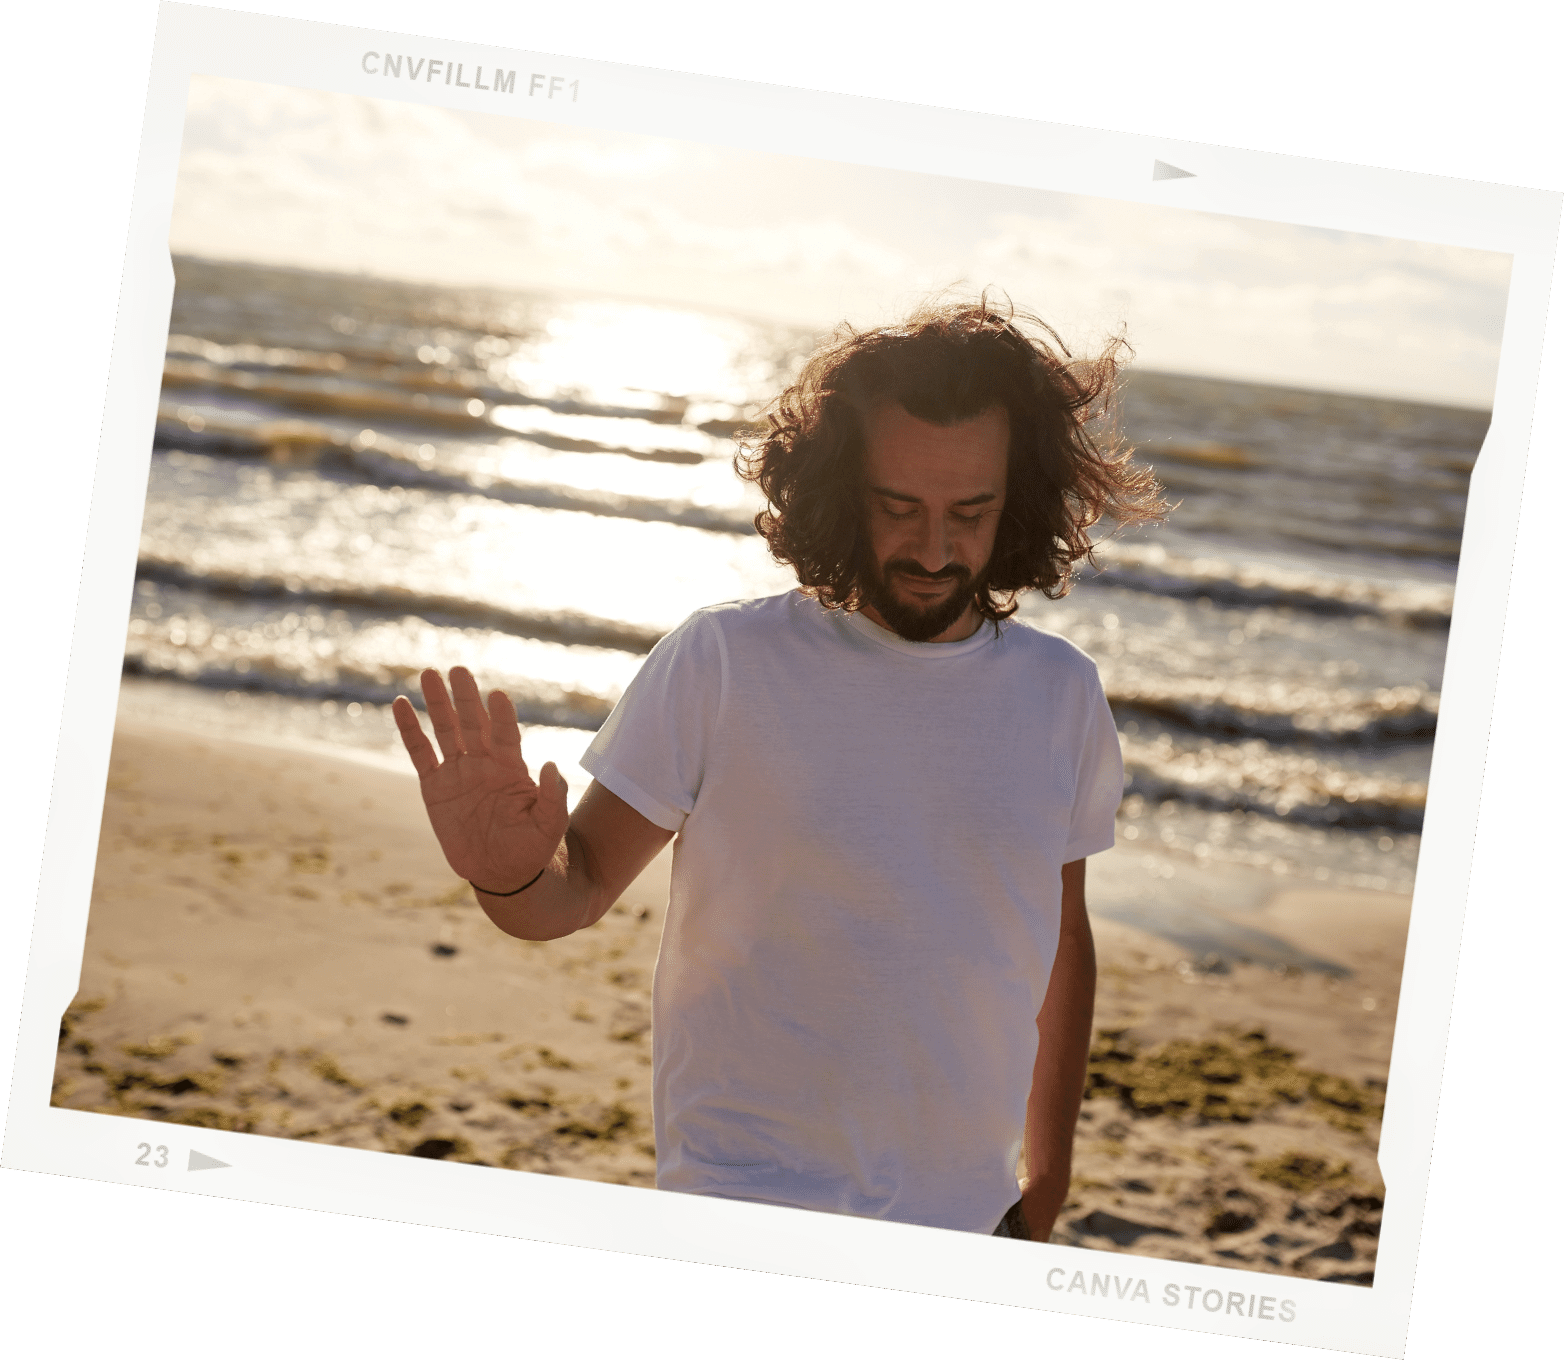
It's all about location.
If you're choosing a location for an outdoor shoot, take into account the look and feel of your product. If you're selling a premium item, try shooting in an upscale part of town. If you're selling a more casual item, try shooting in a more casual setting.
Also, think about the season and the time of day. Shooting for a casual spring collection? Head to your nearest blossom tree or beautiful garden. Shooting for an summer activewear range? The outdoor beach gym would make a killer background!
There are endless possibilities when it comes to locations, and the more unique the better.
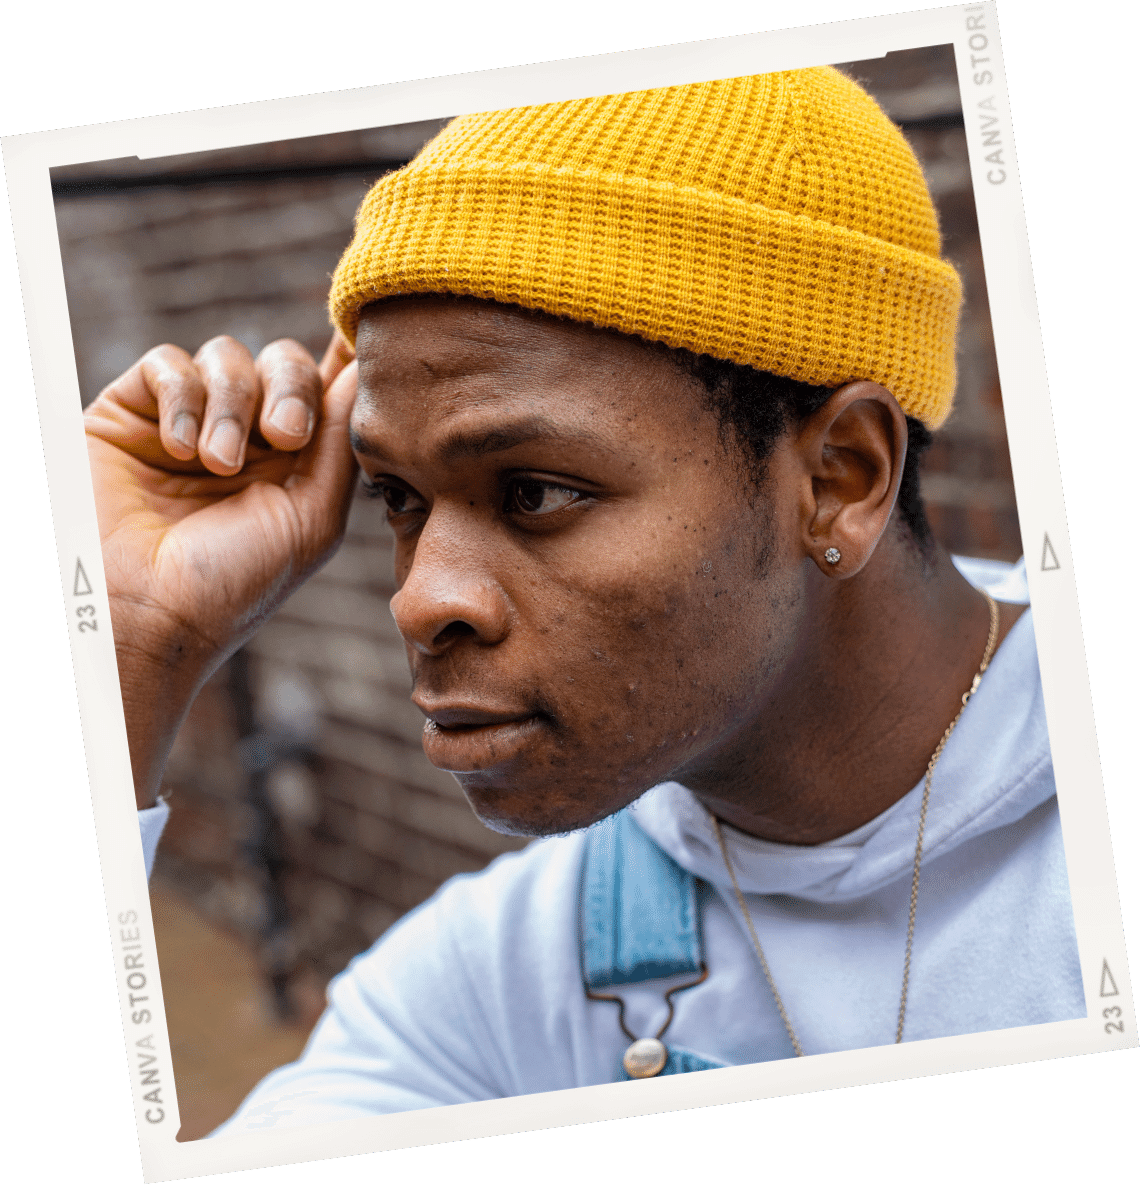
Model or no model?
Having a model to wear your products for a photoshoot can greatly increase the appeal, but they can be costly and intimidating for new brands (unless you have really attractive friends).
The best kinds of photos are the ones that show your products in a real lifestyle scenario. Whether that’s being worn by a ripped man in the gym or simply hung over the weights rack will depend on the type of brand you’re building.
If you do decide to use a model, make sure they are wearing appropriate clothing that compliments your product. You don't want anything to distract from your designs!
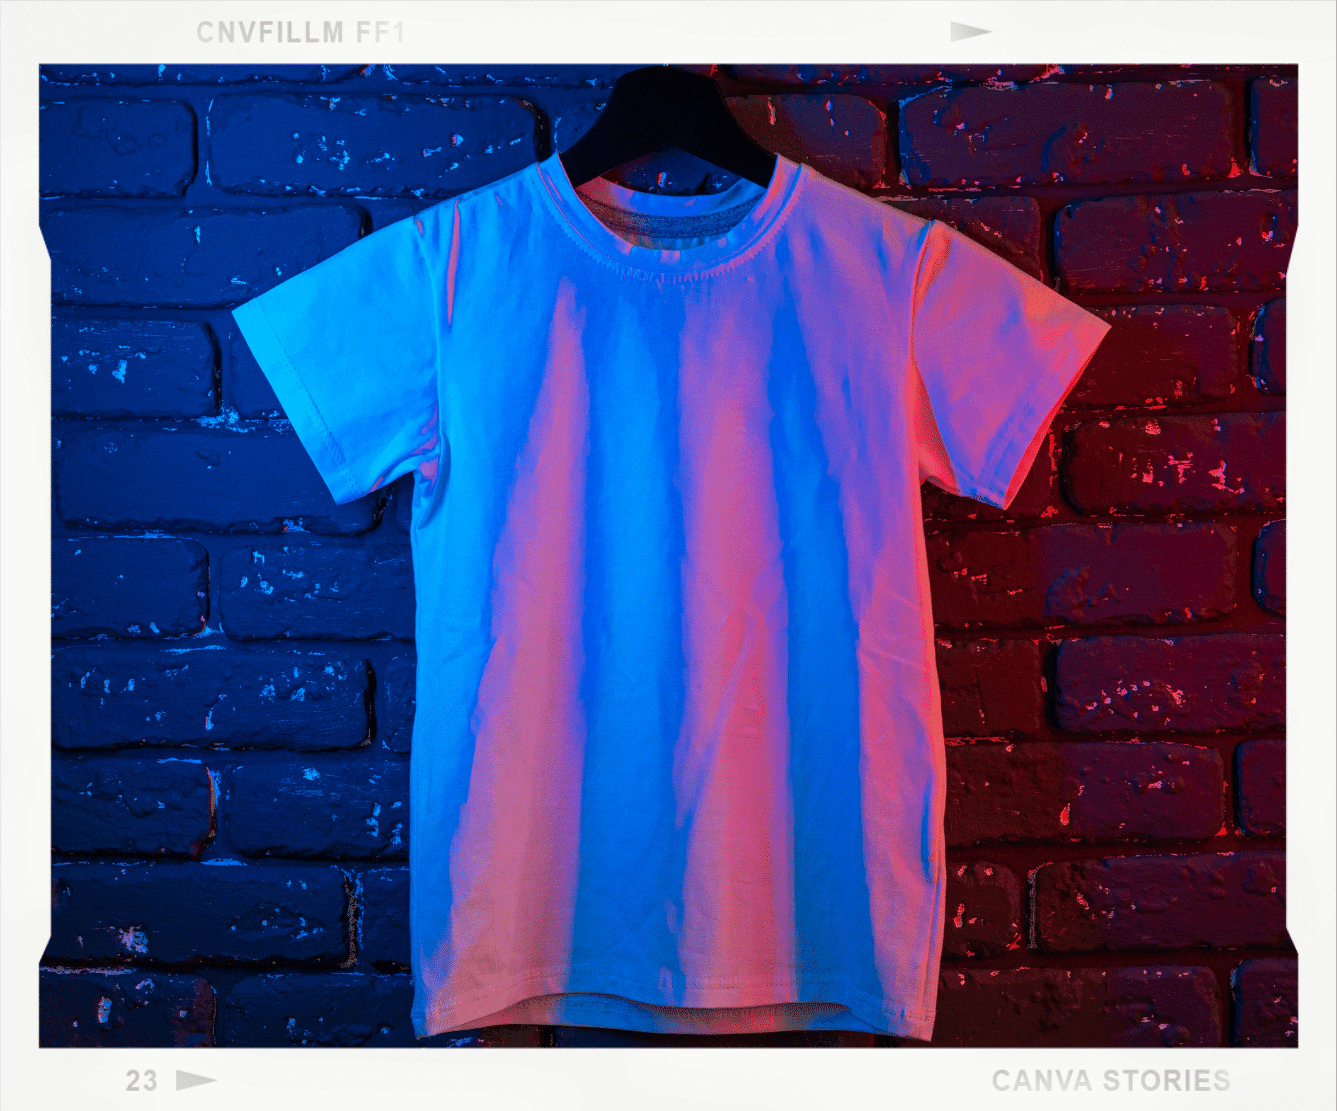
Get creative with LED lighting.
Lighting can make or break a photo, and you can also experiment with different artificial lights to see what lights up your product the best!
We recommend using LED lights because they are less expensive than traditional studio lights, and you can get a variety of different colours to experiment with.
You can find LED lights at most supermarkets, or order them online.
Use a tripod.
A tripod can be a great way to get crisp, clear photos without having to worry about shaking the camera. It's also helpful if you're shooting from different angles or taking close-up photos whilst moving the props into the best framing position.
You can find a tripod at most camera stores, or order one online.
If you don't have a tripod, you can also prop your camera up on something tall, like a bookshelf or a stool. Just make sure it's stable and won't fall over!
Edit, edit, edit!
Once you've taken your photos, it's time to start editing! There are tons of great editing apps and programs out there that can help you perfect your photos.
You don't need to spend hours editing your photos, but a little bit of tweaking will make all the difference.
If you're using a mobile device, Adobe Lightroom or Photoshop Express are great options for editing your photos. They both have a wide range of features that can help you improve the look of your photos, like adjusing the exposure, temperature and contrast of your photos.
Check out this TikTok to see 3 reasons you should edit your photos on Lightroom mobile.

Remember, there are no rules when it comes to product photography... so have fun and experiment!
That's it for now! We hope these tips help you take beautiful product photos on a budget. Stay tuned for more photography tips and tricks in the future.
Don't forget to tag us in your photos! @inkthreadable
Sign up now to receive a discount on your first sample order and see how print on demand can benefit your business. We can't wait to show you what we can do! If you have any questions or need help choosing the right products for your sample shoot, get in touch.